Managing expense receipts can be a hassle for you and your employees. Make expense auditing and expense management a breeze with Webexpenses, which offers four easy ways to upload expense receipts to the expense management software, no matter where you are. Book a free demo today to see how easy it is to upload your expense receipts.
- 4 ways to upload expense receipts to Webexpenses
- Share your Expense Receipts through Image Sharing
- Directly upload your Expense Receipts to the Mobile App
- Upload Expense Receipts to the Web App
- Use Email Forwarding for those receiving Email Receipts
- Choose How You Like to Upload Expense Receipts
4 ways to upload expense receipts to Webexpenses
No matter if you are on the go, want to be organised or receive receipts via email, Webexpenses has an upload method to suit everyone’s needs. Discover the ways you can upload receipts to Webexpenses to help manage your expenses.’
Share your Expense Receipts through Image Sharing
Webexpenses’ latest feature, Image Sharing, allows you to upload expense receipts directly from your iPhone or Android gallery into the app. You can select single or multiple receipts from your mobile gallery without even opening the app. The Webexpenses logo will appear as a sharing option, making the process quick and easy.
This method is ideal for users who are constantly on the go, such as during a business trip. You can gather receipts on the go and upload them when it’s convenient, simplifying the management of your receipts and expenses.
Directly upload your Expense Receipts to the Mobile App
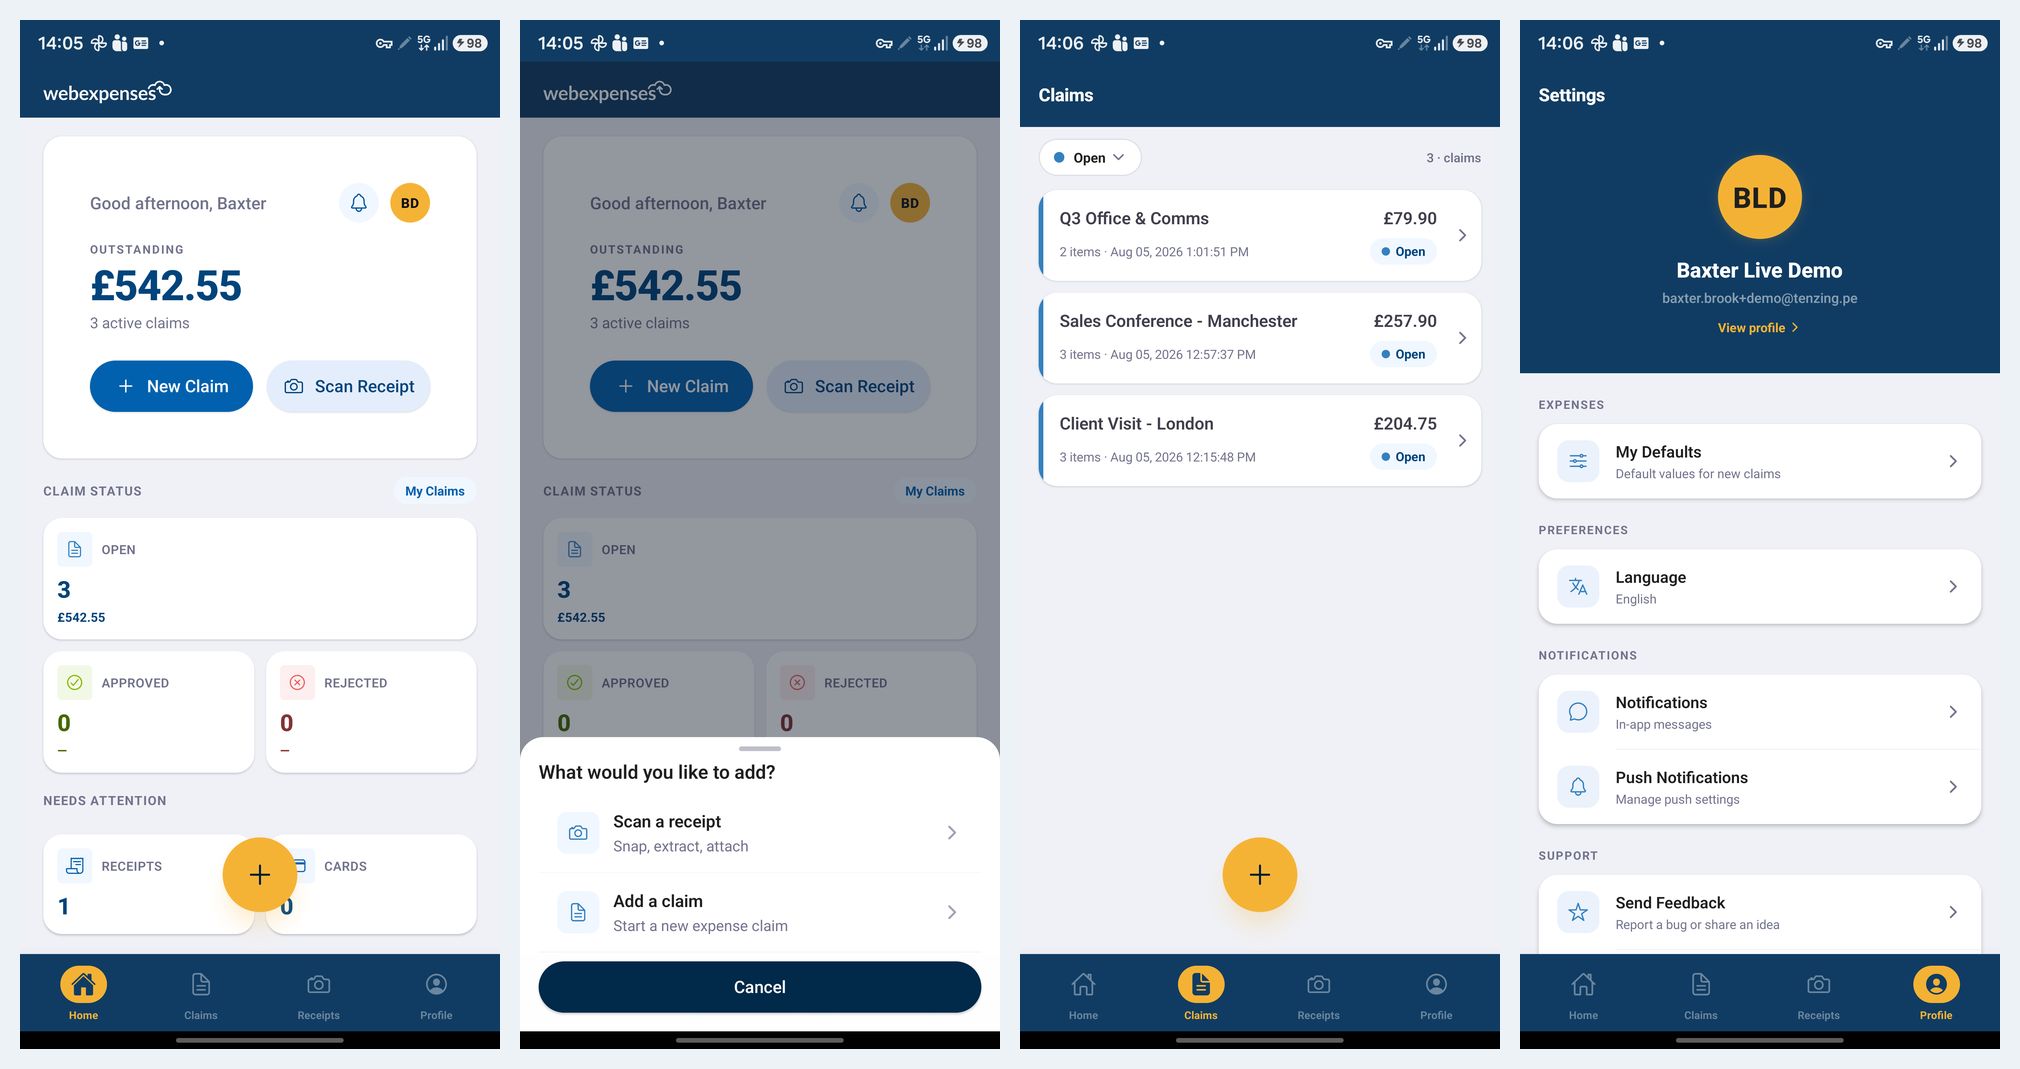
Using Webexpenses’ Mobile App, you can upload your expense receipts directly with the help of an Optical Character Recognition (OCR) scanner powered by Google Vision. This feature accurately captures receipt data and stores it within the app’s receipts area.
This method is perfect for users who prefer to process their receipts soon after receiving them. For instance, an Account Manager could complete a claim in real-time after a client meeting, including all relevant details.
You can also group expenses under specific claims like “Trip to London” to organize your receipts and expenses until you’re ready to submit them for approval. This feature is ideal for managing both mileage tracking and other expense receipts in one place.
Upload Expense Receipts to the Web App
Similar to the mobile app, you can also upload single or multiple receipts directly to the Web App. Once uploaded, you can view the extracted data, including the receipt date and amount.
This option is perfect for users who prefer to handle their receipts and expenses at their desk. For example, finance teams often spend their day on the Web App managing employee expenses, so it makes sense for them to use this method for their receipts and expenses as well.
Use Email Forwarding for those receiving Email Receipts
For those who receive receipts via email, Webexpenses offers a simple Email Forwarding option. Just forward the emailed receipt(s) to forward@receipts.webexpenses.com, and the receipt will be scanned and organized into your receipts area.
Alternatively, you can use my@receipts.webexpenses.com to attach receipts directly to the email, which will be uploaded into your account using OCR technology. If you need to submit receipts on behalf of another user, send them to other@receipts.webexpenses.com, CC the Webexpenses user, and the receipts will be added to that user’s record.
This process is especially useful for travel expenses, such as train tickets or hotel stays, as it eliminates the need for internal forwarding or printing of emailed receipts, saving time and reducing paper waste.
Choose How You Like to Upload Expense Receipts
If you need any assistance with these receipt and expense functionality features, our friendly support team is ready to help. Or, if you want to try uploading receipts yourself, you can book a demo today to get started.